Mixing vocals in FL Studio isn’t about making them “sound expensive”, it’s about making them sit perfectly in the beat.
Let’s break it down step by step.
1. Clean Up the Vocal (Preparation)
Before adding effects, fix the basics
Remove background noise (use Edison or a noise gate)
Cut out silence and unwanted breaths (don’t overdo it)
Make sure your vocal is properly aligned with the beat
Think of this as cleaning your canvas before painting.
2. Set Proper Levels (Gain Staging)
Bring your vocal level down so it doesn’t peak too high.
Aim for around -12 dB to -6 dB
Avoid clipping at all costs
This gives you headroom for plugins to work properly.
3. EQ (Equalization)
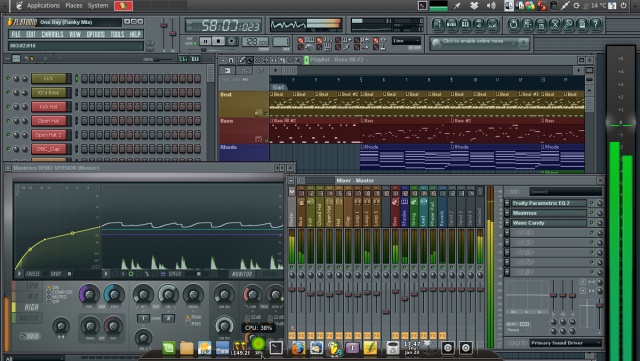
Use Parametric EQ 2 in FL Studio.
Start with:
High-pass filter (cut lows): Remove rumble below ~80–100 Hz
Cut muddy frequencies: Around 200–500 Hz
Boost clarity: Around 2k–5k Hz
Add air: Around 8k–12k Hz (light boost)
Don’t overboost, subtle moves win.
4. Compression
This controls dynamics (keeps volume consistent).
Ratio: 2:1 to 4:1
Attack: Medium (let the vocal breathe)
Release: Fast to medium
Goal: smooth out loud and quiet parts without killing energy.
5. De-Esser (Control Harsh “S” Sounds)
“S” sounds can be sharp and distracting.
Target frequencies around 5k–8k Hz
Reduce only when harshness appears
In FL Studio, you can use Maximus or a dedicated de-esser plugin.
6. Add Saturation (Optional but Powerful)
Adds warmth and presence.
Use subtle distortion or soft clipping
Helps vocals cut through the mix
Don’t overdo it, too much = harsh vocals.
7. Reverb (Space)
This gives your vocal depth.
Use a send track (don’t put directly on the vocal)
Keep decay short to medium
Low-cut the reverb to avoid muddiness
Goal: make it feel like it exists in a space, not floating awkwardly.
8. Delay (Width and Bounce)
Adds rhythm and fullness.
Use ping-pong delay for stereo effect
Sync with tempo (e.g., 1/4 or 1/8)
Keep it low in the mix
Delay should be felt, not heard loudly.
9. Stereo Imaging
Keep your main vocal centered.
Use stereo widening on ad-libs or doubles
Avoid widening the main vocal too much
This keeps your mix clean and professional.
10. Final Level Balancing
Now blend everything.
Lower the beat slightly if vocals are buried
Adjust until vocals sit clearly on top without overpowering
A good mix feels balanced, not loud.
What Most People Skip
Record quality matters more than mixing
Use reference tracks (compare with professional songs)
Take breaks, your ears get tired faster than you think